by David J. Marks
posted June 30,2016
In December of 2014 my friend Rik Lawrence, a furniture maker from nearby Sonoma (check out Red Cloud Furniture), called to offer to sell me a Big Leaf Maple tree which blew over in a storm on his property.
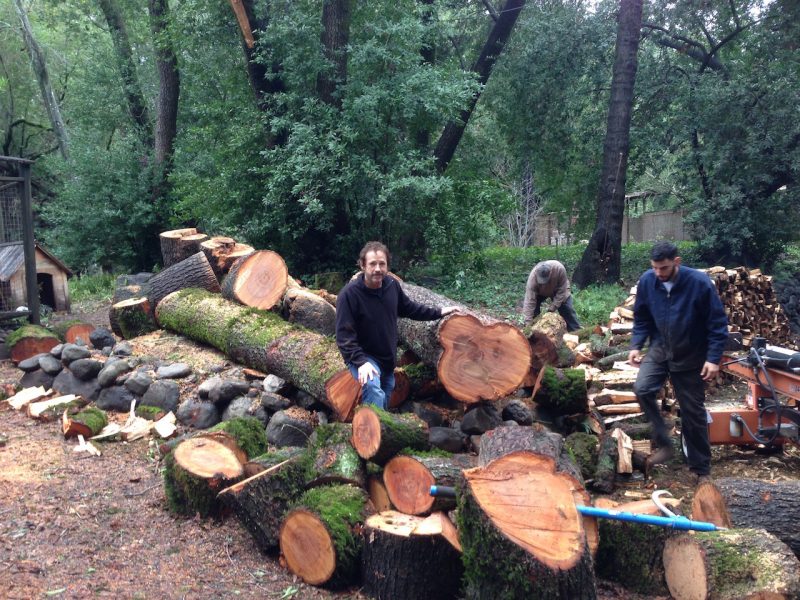
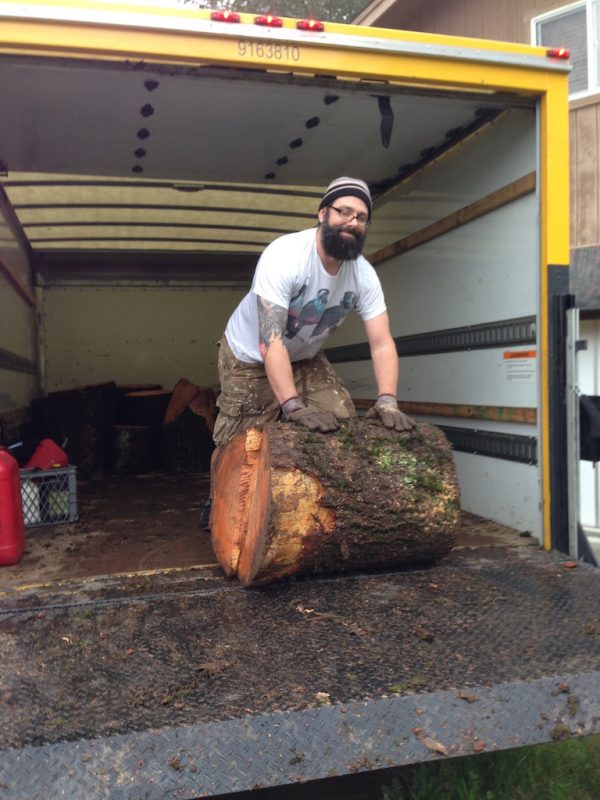
I saw this as an opportunity to get some large pieces of Maple for hollow vessel turning so I rented a truck with a hydraulic lift gate and called my friend Josh Caplan to help me with this big project.
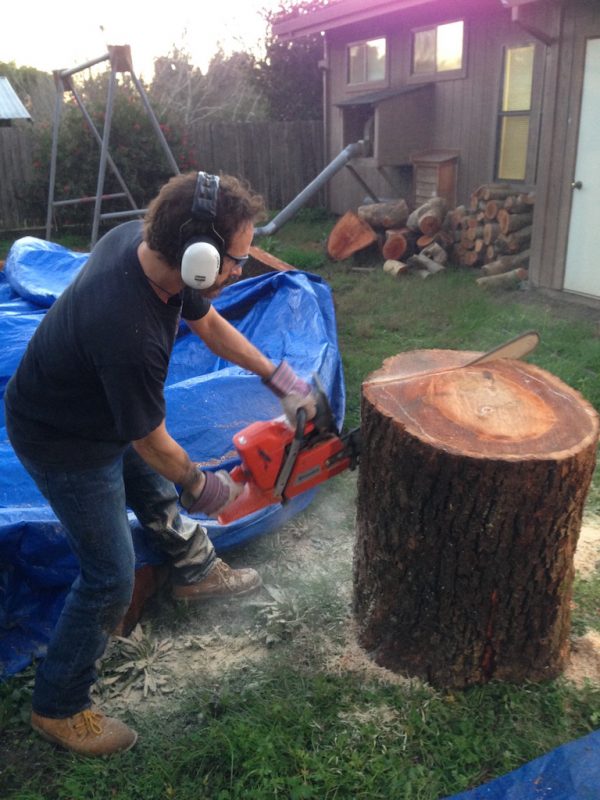
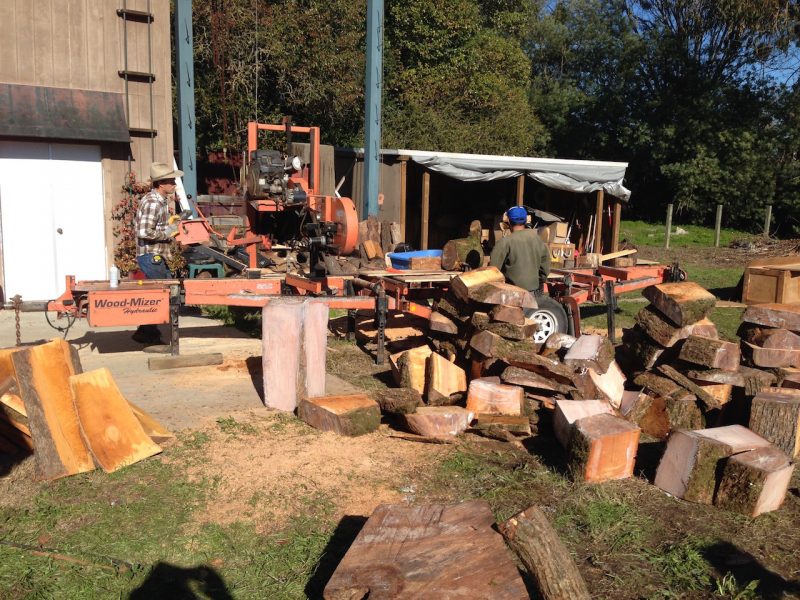
I tried to mill some of the logs by hand with my chainsaw but soon realized that this was a job for a portable bandsaw mill, so I called my friend Shawn Gavin to get the job done.
Here is Shawn Gavin in his straw hat operating his portable wood mizer band saw mill.
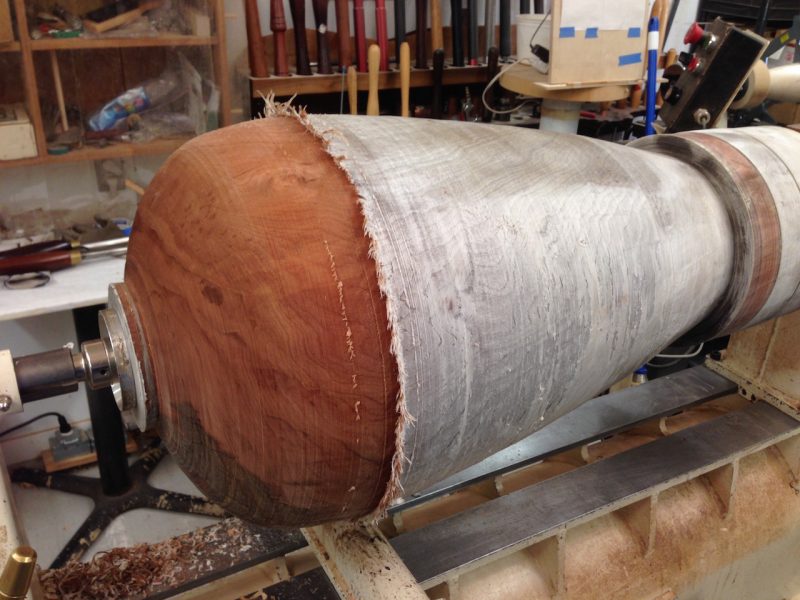
The first log that I decided to turn weighed approximately 400 lbs which required my engine hoist to lift it into place.
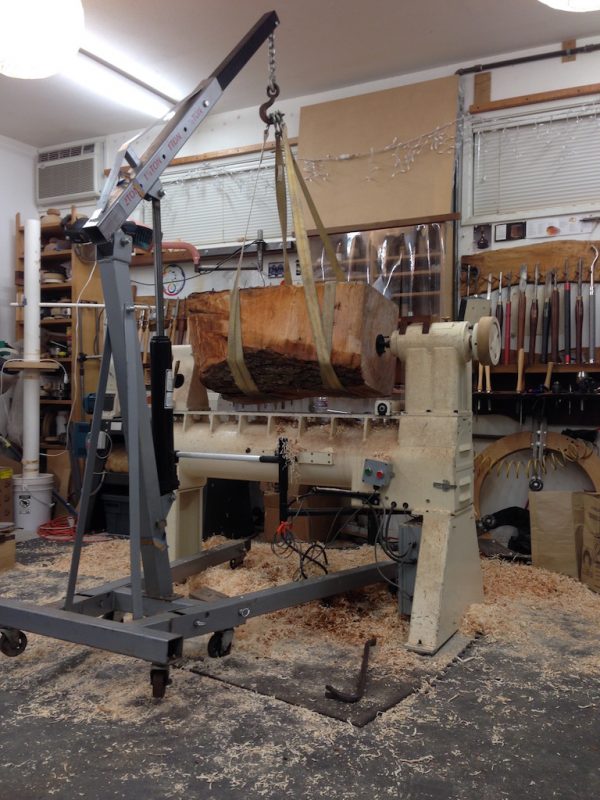
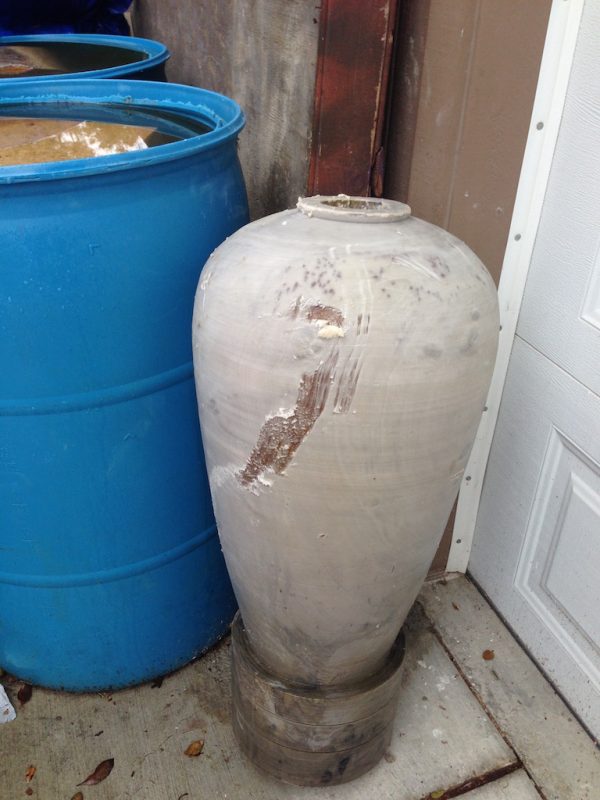
After rough turning it, I needed to prevent it from cracking until I had the time in between teaching classes to get back to my lathe.
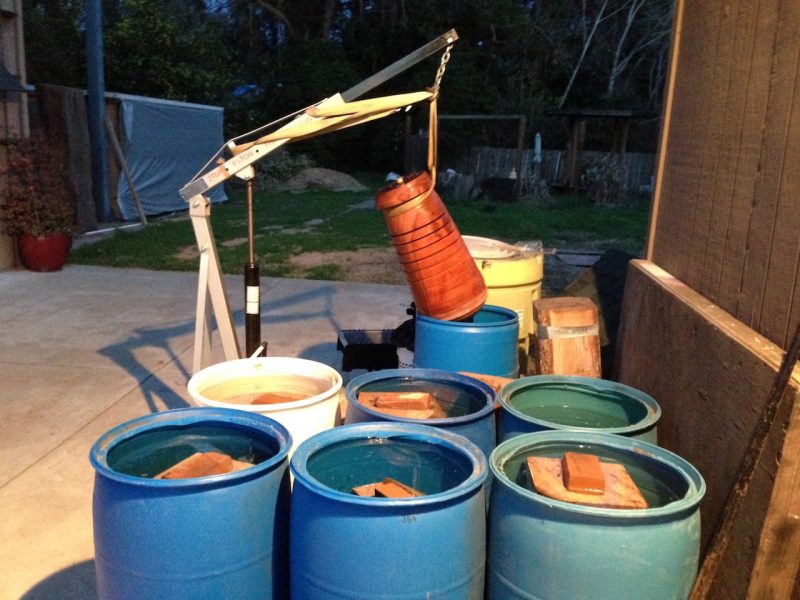
I decided to get some plastic drums and begin storing all of the milled logs underwater to prevent them from cracking.
I was able to work on the vessel in between my busy teaching schedule for a while.
The following year I was invited to do 4 demonstrations for the American Association of Woodturners 30th annual symposium in Atlanta Georgia in June of 2016 which gave me a specific goal and deadline to complete a large vessel and display it in front of a very large audience.
As everyone knows who does any type of woodworking, sometimes the project takes on a life of its own.
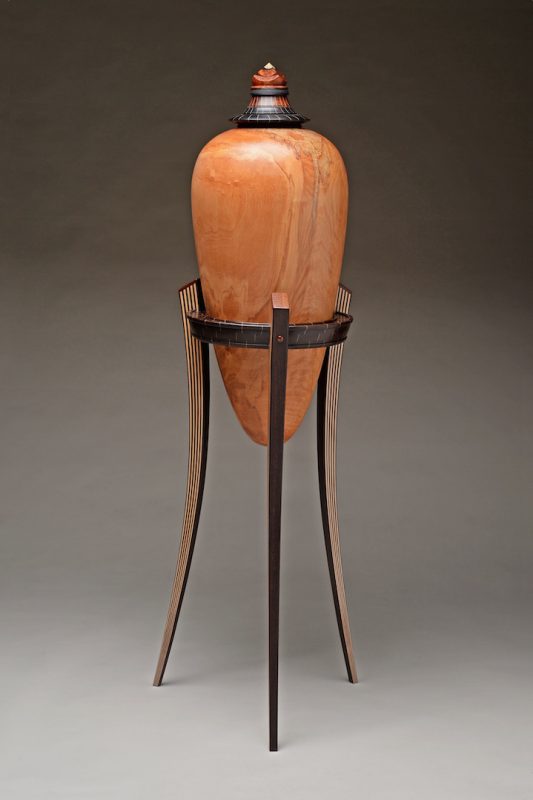
This was definitely the case with “Sensei”.
Yes, I named this hollow vessel “Sensei” because it means teacher in Japanese and this vessel became my teacher and taught me a tremendous amount of new knowledge.
Some of the things I learned along the way were not to use stainless steel screws on the faceplate because they are too brittle and half of them broke off in the wood when I tried to remove them.
That experience led me to a local hardware/lumber store that serves contractors and I purchased the strongest construction grade screws they had.
I also learned that I needed a longer lathe bed, so I ordered an extension from Oneway.
My old inline skate wheels on my center steady weren’t rigid enough which caused vibration issues. That led me to Steve Sinner’s site to purchase some of his rigid plastic wheels which performed very well.
Logs soaking in water become a great way to incubate mosquitoes so I began adding soap to the water to break the surface tension and drown the little “you know whats”.
As time passes and the summer heats up, strange slimy things begin growing in stagnant water barrels. I thought, a little bleach (chlorine) will cure this.
It did but eventually over the course of a year or so, it broke down the outer layer of wood into a soft white cellulose that was tough to cut through, but once I did, I got right back to clean wood.
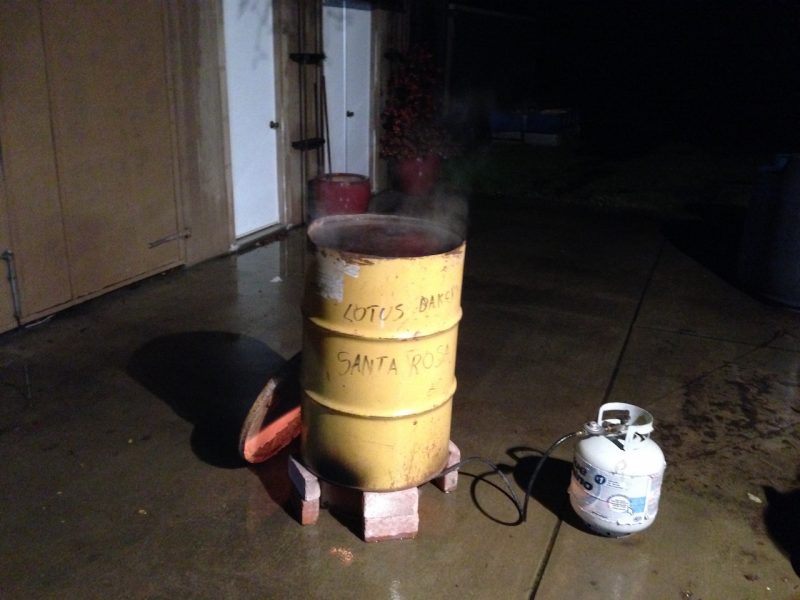
After reducing the wall thickness to an inch, I boiled the wood to rupture the walls of the “bound cell water” and hasten the drying process.
After allowing the vessel to drip dry for a week, I needed to speed up the drying process so I soaked the vessel in denatured alcohol for 3 days. The alcohol displaces the water and then after a few weeks the alcohol evaporates minimizing any potential cracking.
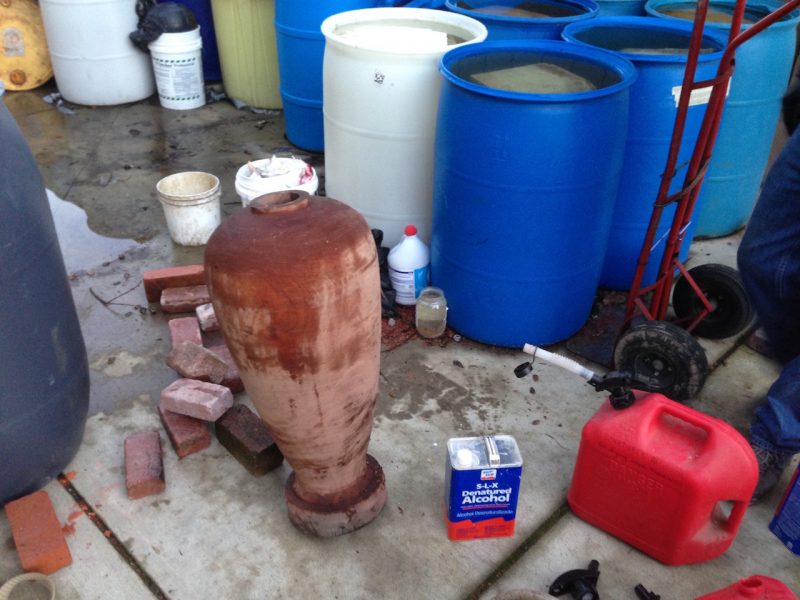
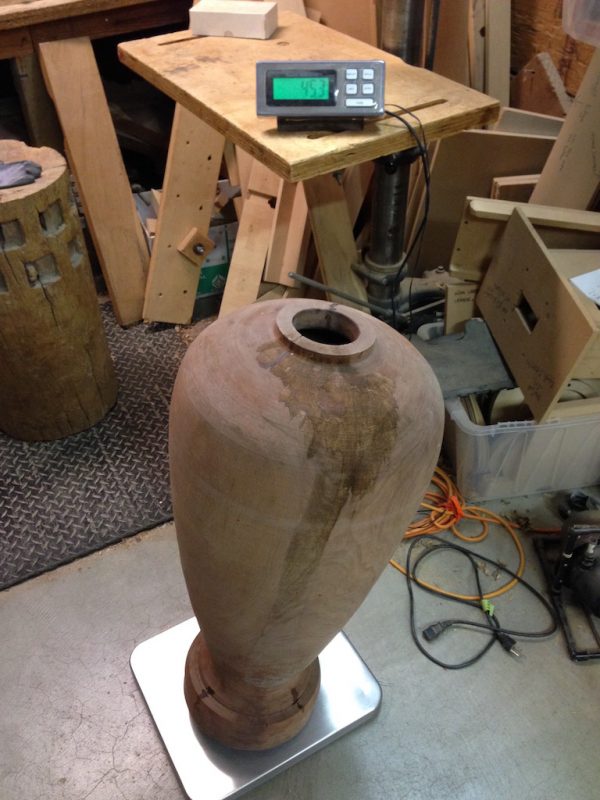
Weighing the wood is a good method to measure drying also. When it stops losing weight, it’s a good indication that the wood is dry.
At this stage the vessel weighed 45.3 lbs.
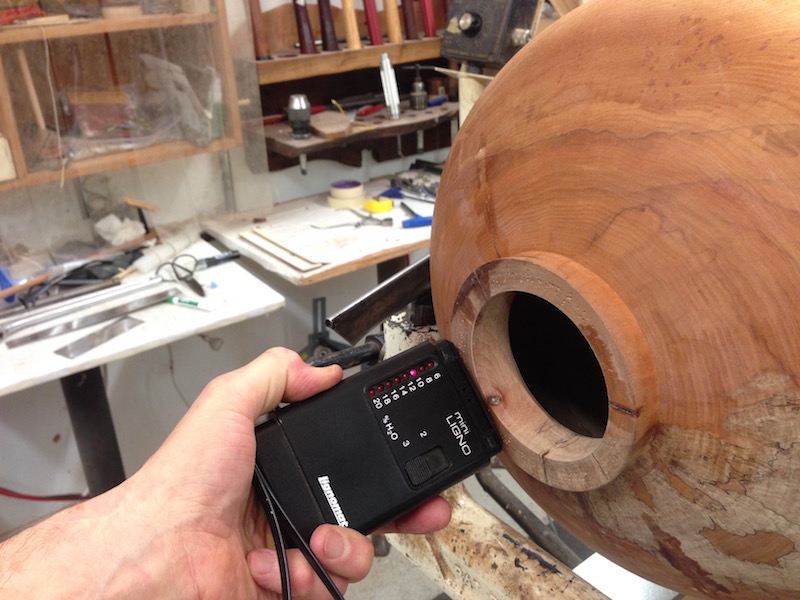
Eventually the wood dried to approximately 11 lbs and measured 10 percent with my moisture meter which meant it was ready for joinery and finishing.
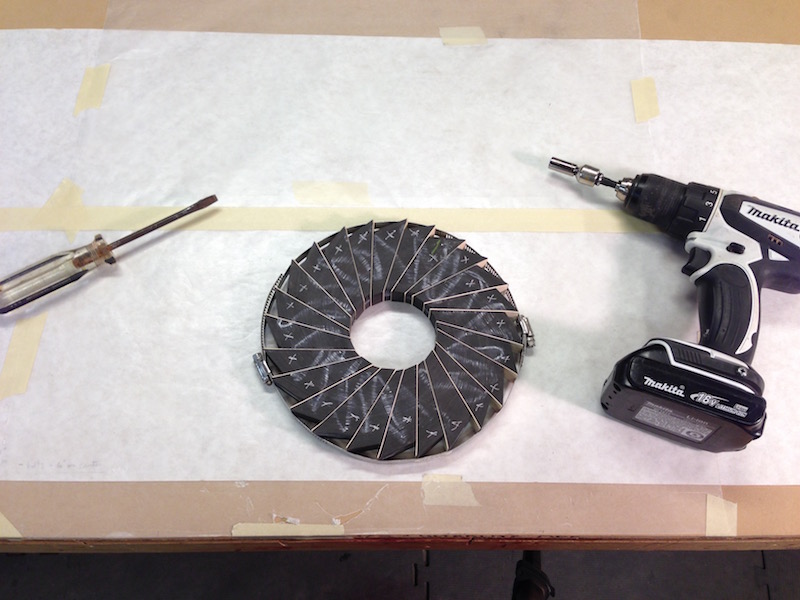
I decided to create some segmented rims for the top and the stand which led me to Jerry Bennett’s video and his seg easy wedges which minimize the complicated math involved.
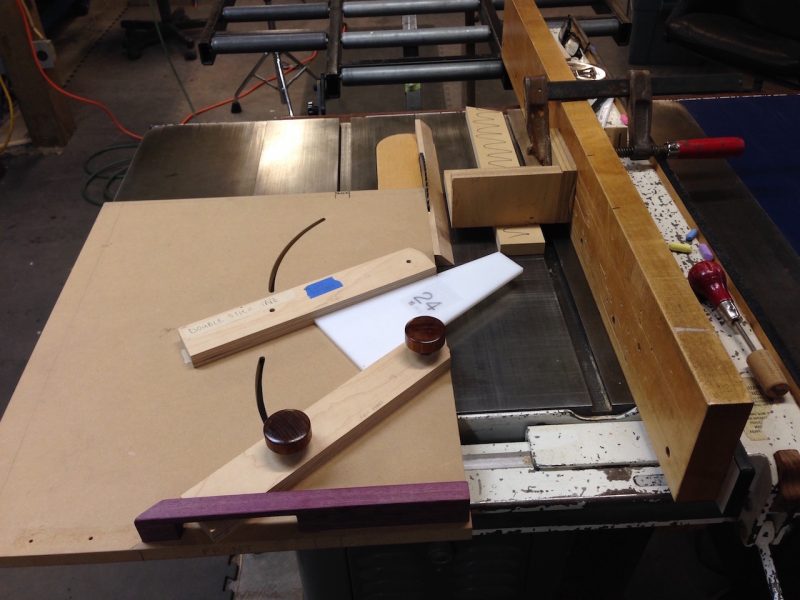
I liked the idea of a spiral segment so I decided to join ebony with thin lines of holly.

Mike Mahoney was a guest instructor at our woodworking school in Feb 2015. Mike asked everyone what they wanted to learn and after the students made their requests, I asked to learn thread chasing.
Mike is an all around awesome turner and nice guy. We had a great class and I learned how to hand chase wooden threads.
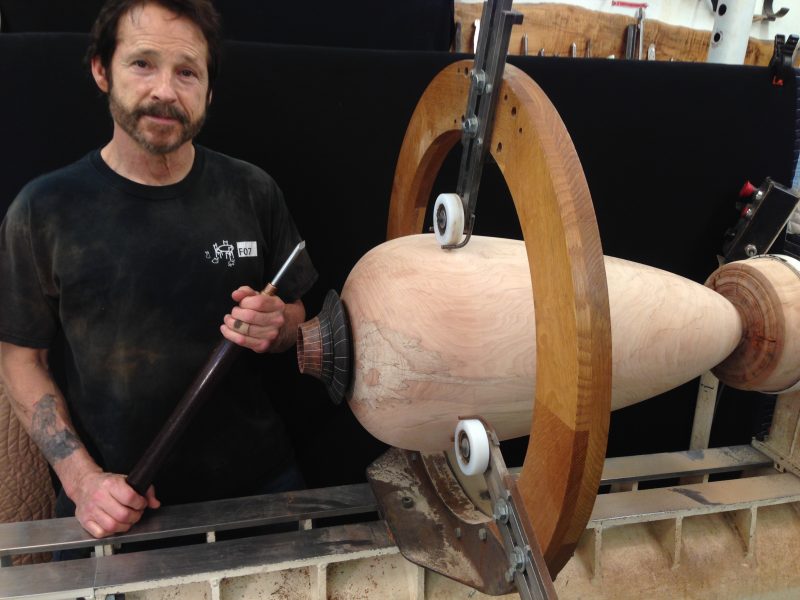
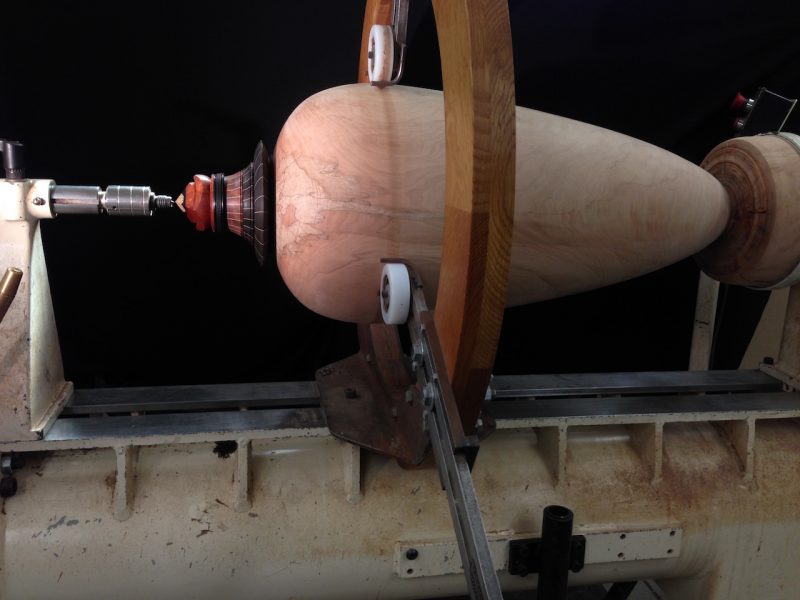
It’s one thing to turn and hollow a 10 or 12 inch deep vessel.
The laws of physics bear down upon you when you tackle a 32 inch deep hollow vessel.
I’ve been known to be extra cautious in my work and take extra measures to ensure success. That’s not such a bad reputation to have.
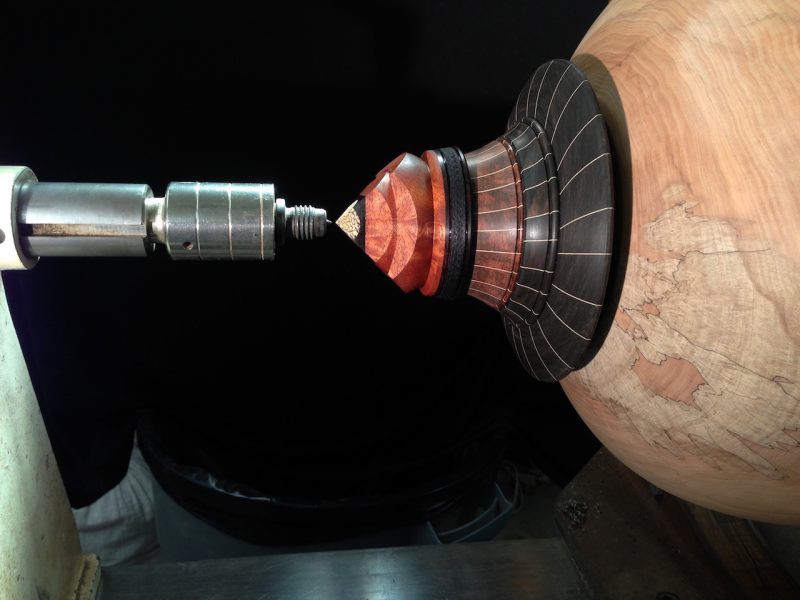
I was extremely glad to see that after hollowing, then joining 4 segmented rings and hand thread chasing the lid into a segmented African Blackwood hand chased insert, that everything lined up point to point from the headstock to the tailstock!!!
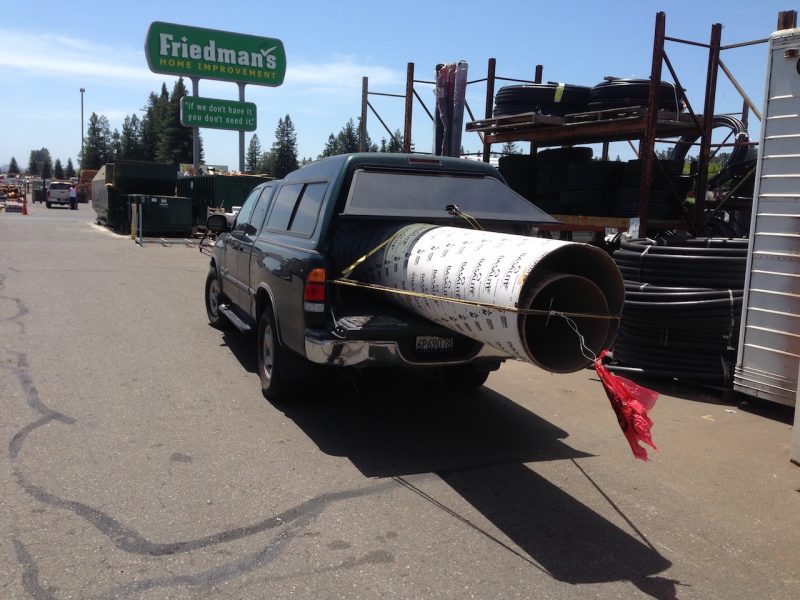
As you can imagine shipping a project like this has it’s own set of challenges.
Fortunately we have a Friedman Bros store in Santa Rosa and like their sign says “if we don’t have it, you don’t need it ” !
So I went on down and purchased the largest (24 inch and 18 inch) Sonotubes (for concrete forming) they had!
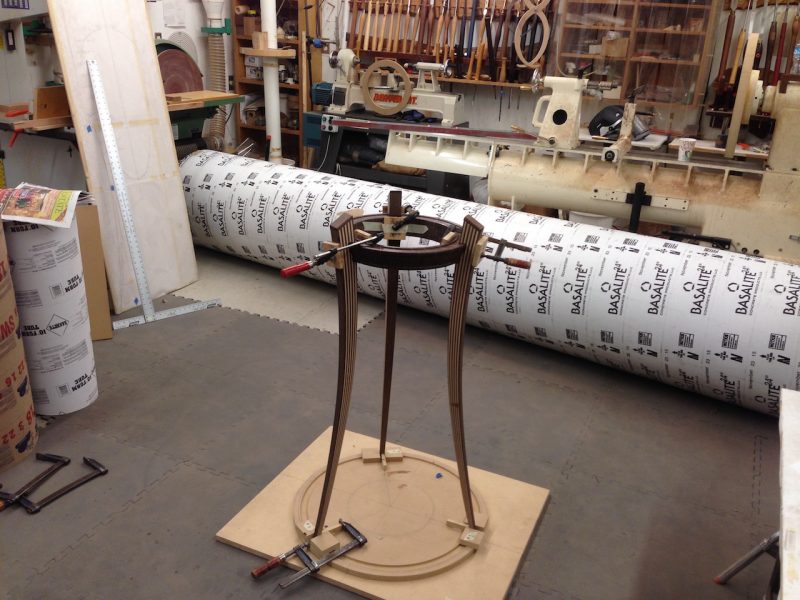
The bentwood laminated stand drew upon my furniture making skills. I made 3 segmented wenge and holly rings which I laminated together staggering the glue joints for strength. Then I made a ramp and milled 11 pieces of wenge and maple and ran them through my planer,then my drum sander to taper them. The laminates are 1/32 of an inch thick at the feet.
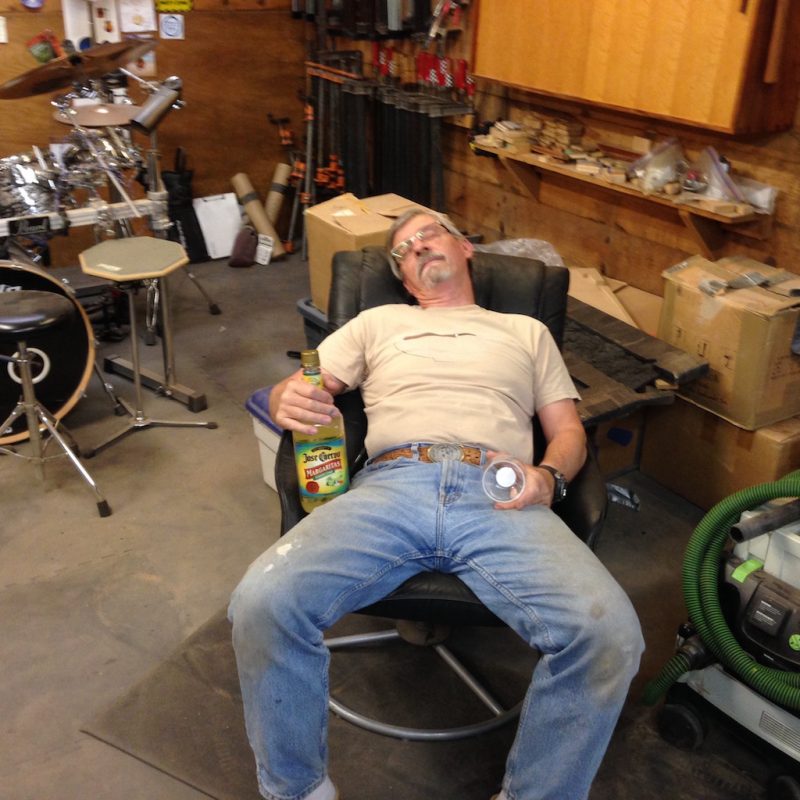
Making the deadline for the AAW symposium took its toll. As you can see, there was some collateral damage to my shop assistant Dan Neff who towards the end, took a strong liking to Tequila!
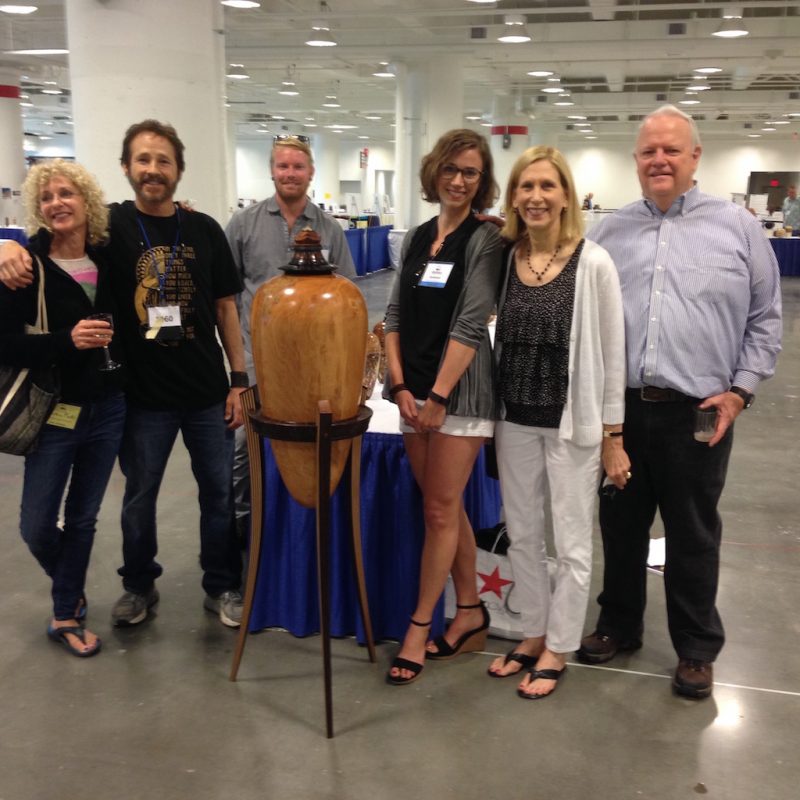
Well we finally made it to Atlanta and here is a photo that we posted on FaceBook of Victoria and I, Ashley Harwood (professional woodturner from South Carolina) her assistant Tyler, and her parents Jan and Marcus whom we really enjoyed meeting and talking with.
It’s been a long but very enjoyable process. From the first day of harvesting the logs to the last day of putting finish on the vessel, I have estimated well over 1,000 hours of labor. The total height of the vessel on the stand including the threaded lid is 57 inches tall. That is just 3 inches under 5 feet tall! The footprint is 22 inches in diameter.
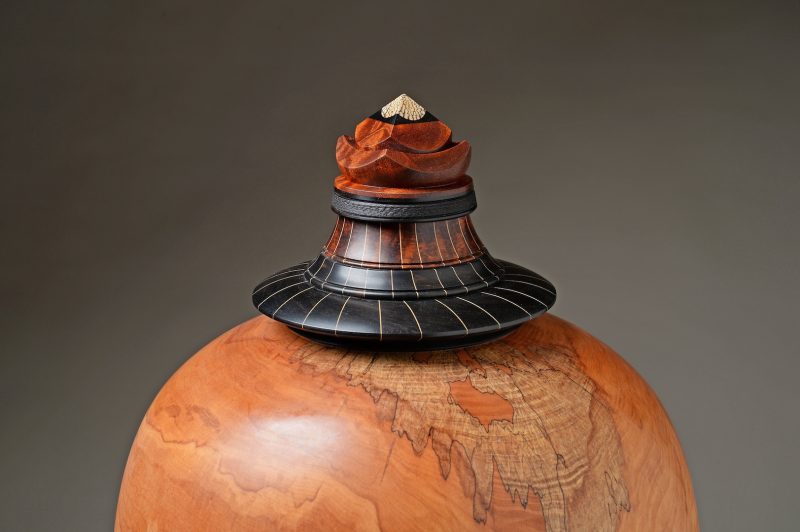
The materials starting at the apex of the very top:
Betel nut
African blackwood
Quilted mahogany from “The Tree”
African blackwood with texture on the outside and hand chased threads on the inside
Snakewood, one of the rarest woods in the world, segmented with holly veneer
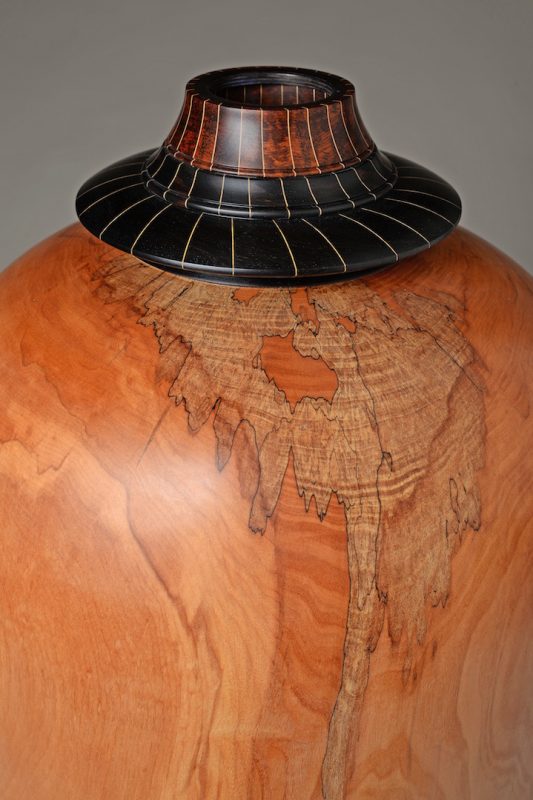
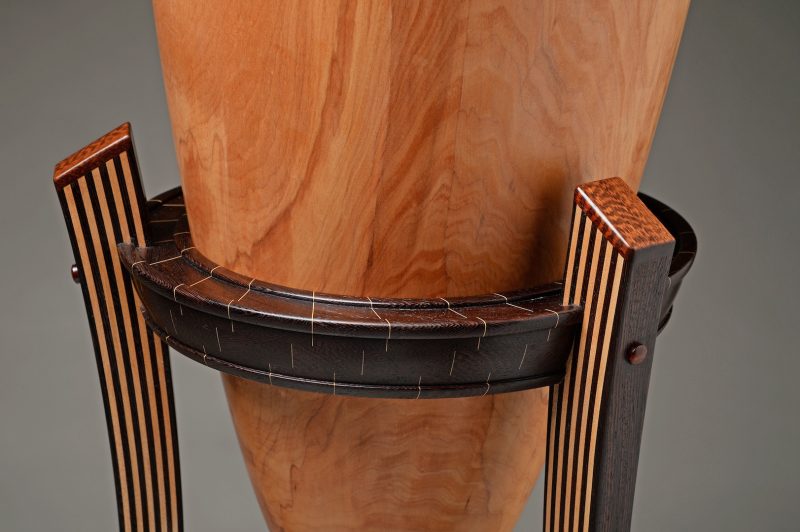
Ebony, segmented with holly veneer
Spalted, figured, Big Leaf Maple
Snakewood
Wenge & maple for the tapered, bentwood laminated legs
Wenge segmented with holly veneer for the rings that support the vessel
I have some galleries interested in Sensei as well as some possible publishing leads.
If you are interested in this piece, please email me at david@djmarks.com or call our Home Office Phone (707) 526 6280
Here are a few more of the professional photographs from the man who has been photographing my work since 1981,Don Russel.
For the full album of photos of Sensei by Don Russel:
In the meantime, it’s back to work on the next creative process.
6 thoughts on “Sensei”
Great job David!
A Masterpiece.
Absolutely beautiful work!!
Also, it is both humbling and comforting to know that even our teachers have teachers. Just goes to show that we never stop learning.
Thanks for sharing, keep up the awesome work!!
I just saw your video on Jack Bench and that was a wonderful video showing your method to turn such a huge piece. Your final results is amazing.
beautiful!
This is one hell of wood working art.. Too good mate.. Loved your post
Comments are closed.